
GARDEN FAIRY STORY
INSPIRATIONPOLYMER CLAY
Shelly Arroyo
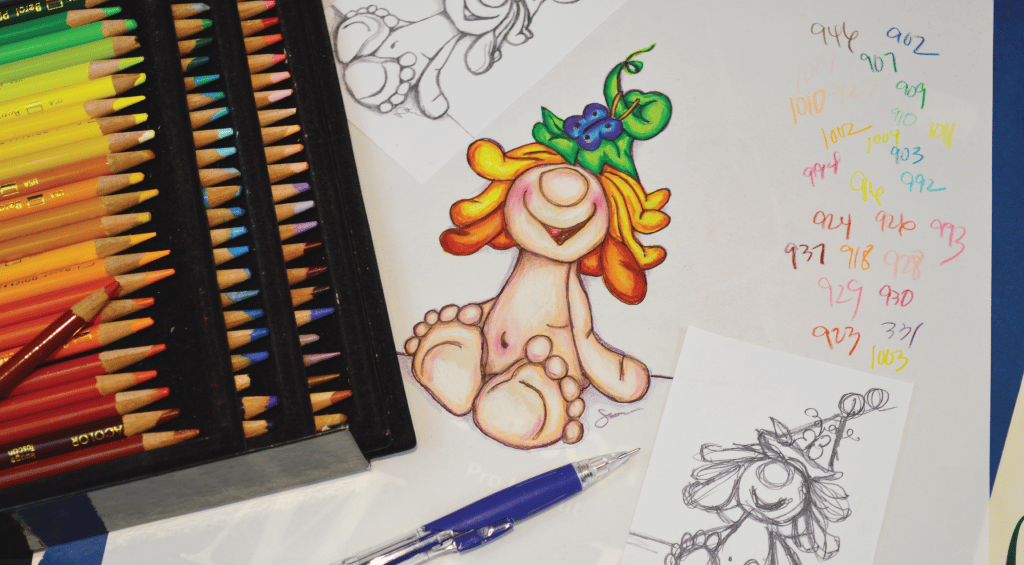
I loved how this little garden fairy story unfolded. In eight DSLR photos, I was able to show the transformation of her character, from paper to a three-dimensional clay sculpt.

Step 1: Brainstorm. © Shelly Arroyo
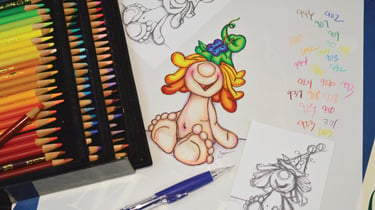
STEP 1: SKETCH CONCEPT — In this beginning step, a concept is sketched out and colors are imagined. Each new clay design starts this way, from a one-of-a-kind figurine, to a made-to-order custom ornament.

Step 2: Begin the sculpt. © Shelly Arroyo
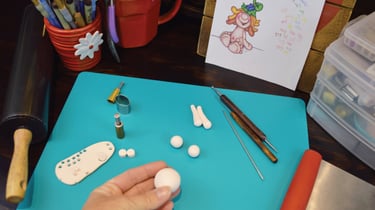
STEP 2: BEGINNING SCULPT — In the early 3D design phase, the rough sketches become simple clay sculpts. Each new clay design in 3D starts with estimating the main parts of the concept and attempting a “pattern” to be able to recreate the ratios, in case this trial becomes the finished prototype sculpt (sometimes to replicate.)

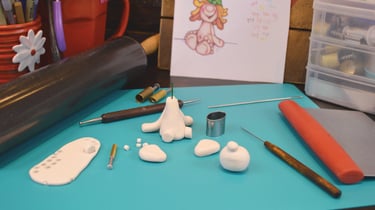
Step 3: Continue to sculpt the base. © Shelly Arroyo
STEP 3: CONTINUED BASE — Continuing the base, more features are sized through trial-and-error, gauging their size to the original sketches. Notes are periodically taken, in attempt to remember the sculpt in case more will be made in its likeness.
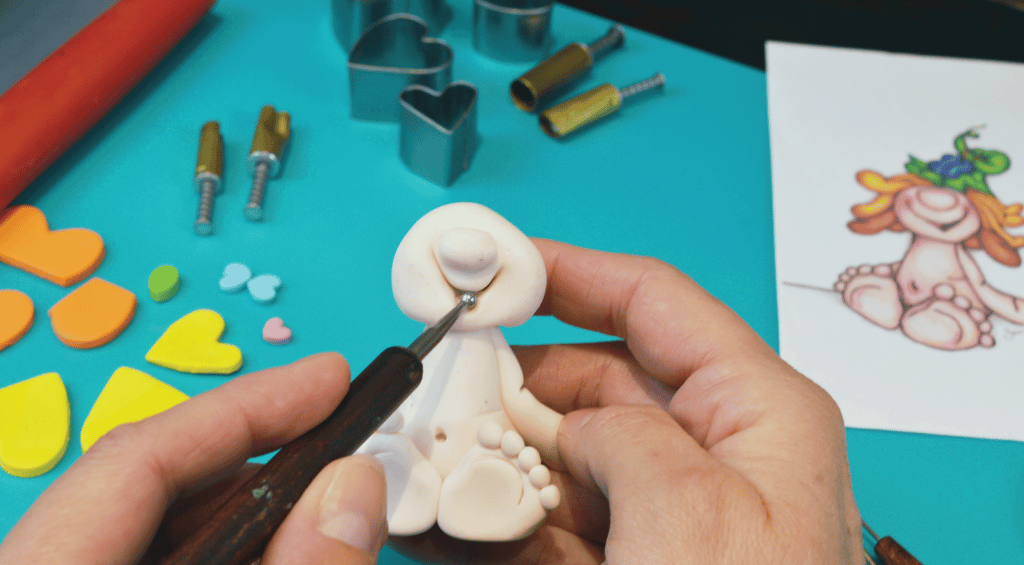
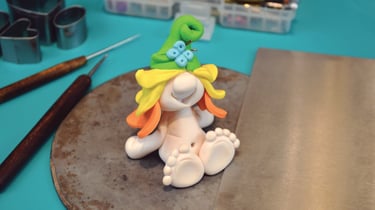
Step 4: Cut clay details. © Shelly Arroyo
STEP 4: ADDING DETAILS — After having sculpted the main features, the fun begins through adding in smaller details. This is one of my favorite parts of the process, as these details really start giving the piece its unique character.

I loved how this little garden fairy story unfolded...In eight DSLR photos, I was able to show the transformation of her character, from paper to a three-dimensional clay sculpt.
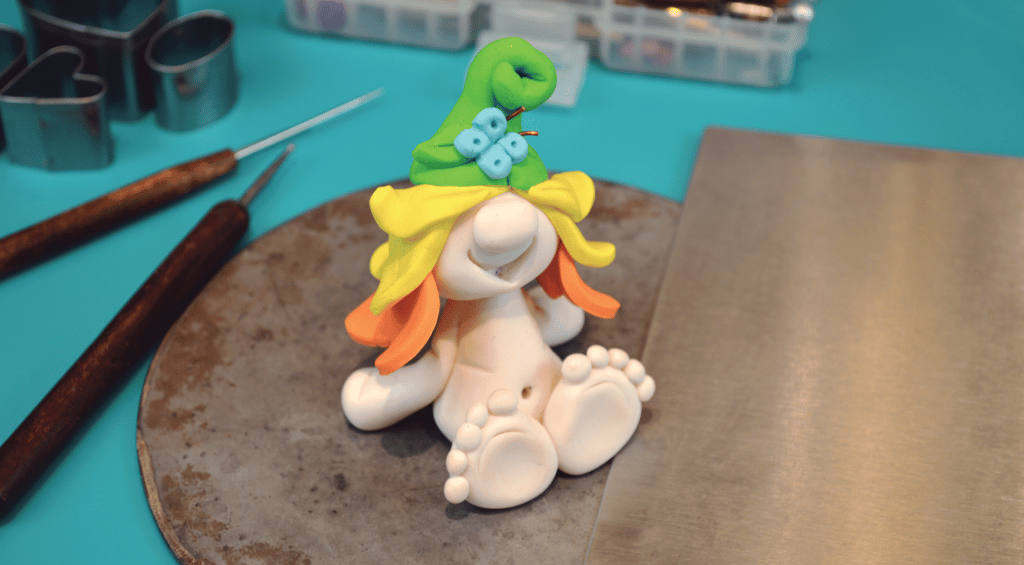
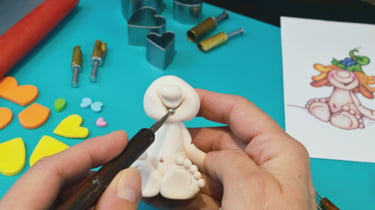
Step 5: Sculpt clay details. © Shelly Arroyo
STEP 5: FINISHED RAW SCULPT — At this stage, the clay sculpt is essentially finished and it is time to start custom finishing steps. If more than one finished clay piece is needed for an order, where the items need to match or coordinate with each other, it is this stage where the process can be replicated best. All of my clay colors are custom recipes and science affected many of the steps in my process, so the finishing steps are the way science plays a unique hand in allowing each item to truly be one-of-a-kind.

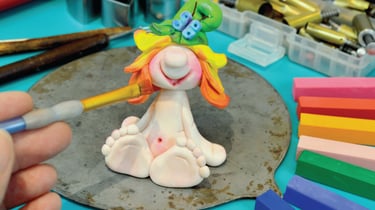
Step 6: Add depth. © Shelly Arroyo
STEP 6: DIMENSIONAL SHADINGS — Adding dimensional shadings gives every clay sculpt a feeling of being a three dimensional illustration. Rarely do I used shadings that are “store bought,’ rather I combine combinations of many different shadings to my pieces. Some of these shadings are very unique to my items, made from processes that are unconventional. Some shadings are applied before baking, as their chemistry needs heat to occur, whereas some shadings are applied after baking.
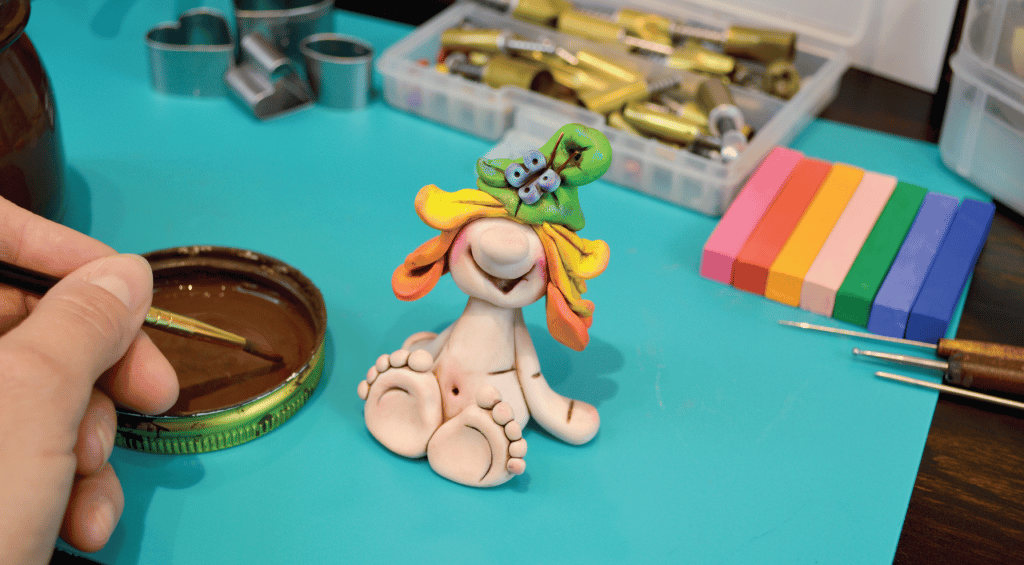
Step 7: Finishing steps. © Shelly Arroyo
STEP 7: PATINA PHASE — After baking and all dimensional shadings are achieved, custom water-based patina washes are added in different ways. Every polymer clay sculpt I make features a range of these finishes, as they settle into the baked clay grooves, adding more details to the dimensional sketch.
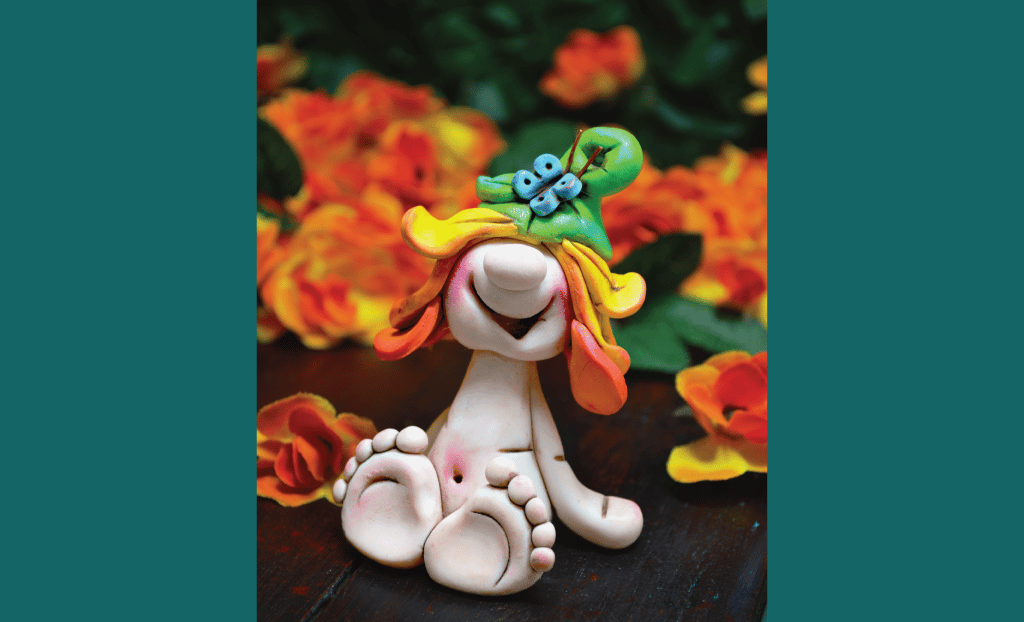
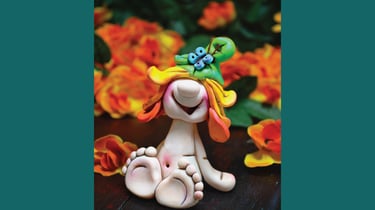
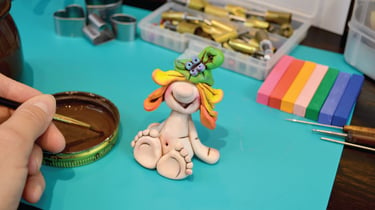
Step 8: Finished product. © Shelly Arroyo
STEP 8: FINISHED PIECE — The finished piece is truly a keepsake. Every sculpt is highly unique and one-of-a-kind. As you can see, one of the talents I enjoy most is my ability to illustrate in two and three dimension. This little garden fairy was photographed with my DSLR camera. She measured 3 1/2″ H x 3″ W x 3″ D.
MEET THE AUTHOR
All content and artwork © Shelly Arroyo, A.k.a. Mama Chickpea.
Shelly Arroyo, A.k.a. Mama Chickpea!

I have been a graphic designer excelling in desktop publishing programs, dabbling in web design, and making brand content for twenty years. I have owned my own brick-and-mortar studios, and developed my own brands. Designing user-centric UX, beautiful graphics and meeting deadlines are some of my strongest skills…but don’t forget my killer macaroni and cheese!
PLEASE FOLLOW ME as I embark on a quest to enjoy, learn from, and raise my bamBEANos, in the best way this Mama Chickpea can. Art is my “balance” to life and I enjoy all the DIY therapy I can handle! To learn more about Mama Chickpea, click HERE.

XOXO-
YES, ADD ME TO YOUR EMAILS!
When I’m not learning something new, I love creating anything arts and crafts, watching comedy, and cuddling with my crew — all alongside being immersed in my love of all things design.
Join me! A journey is always better with friends. 🩷
MY MISSION
© Copyright Mama Chickpea 2026.